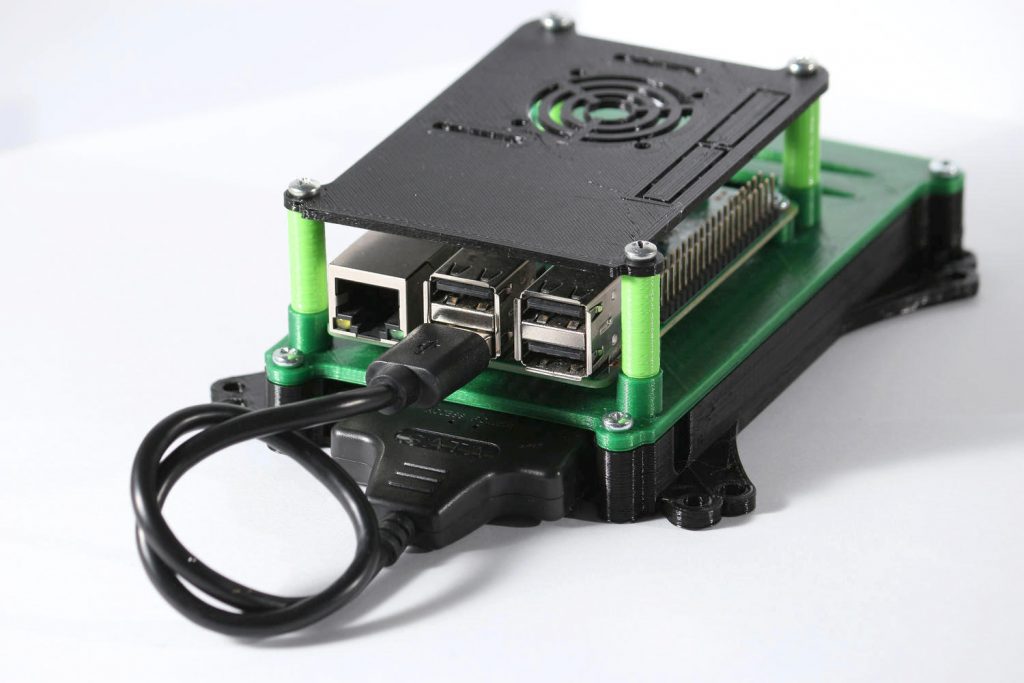
Download the design here
Bill of materials:
- Four M3 x 30 screws
- Four M2.5 x 6 screws
- Four M4 x 10 screws for VESA monitor mount
- Four 20mm spacers (stl file included)
- 3D printer
- 3D printer filament; PLA preferable
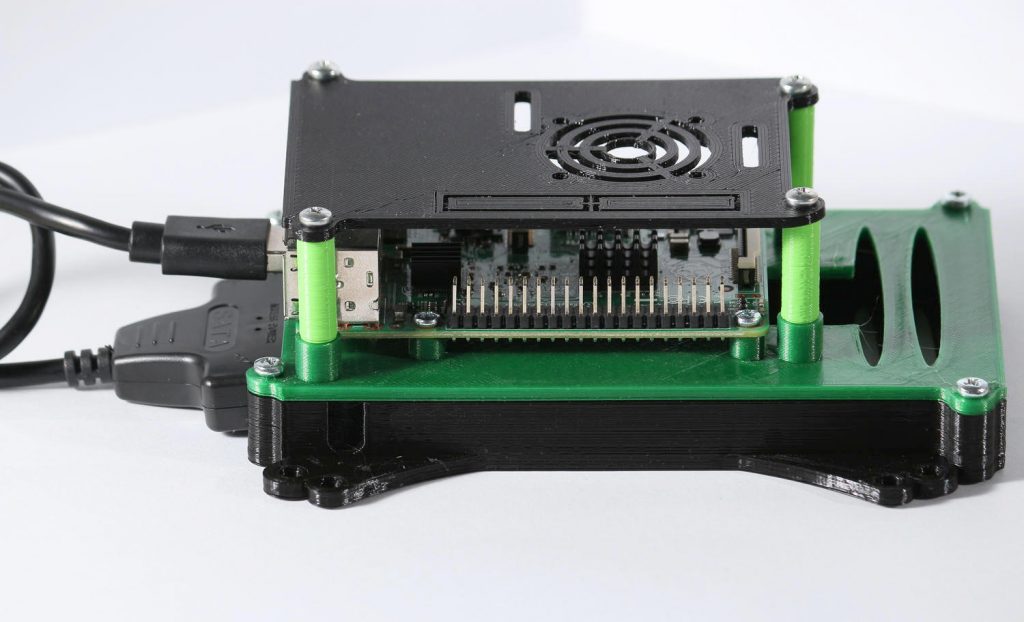
Printing the case
The printing does not include any fancy settings. I have included the Slic3r_config_bundle.ini file in the design folder for Slic3r. These settings are optimized for speed.
I recommend using Repetier which has Slic3r bundled.
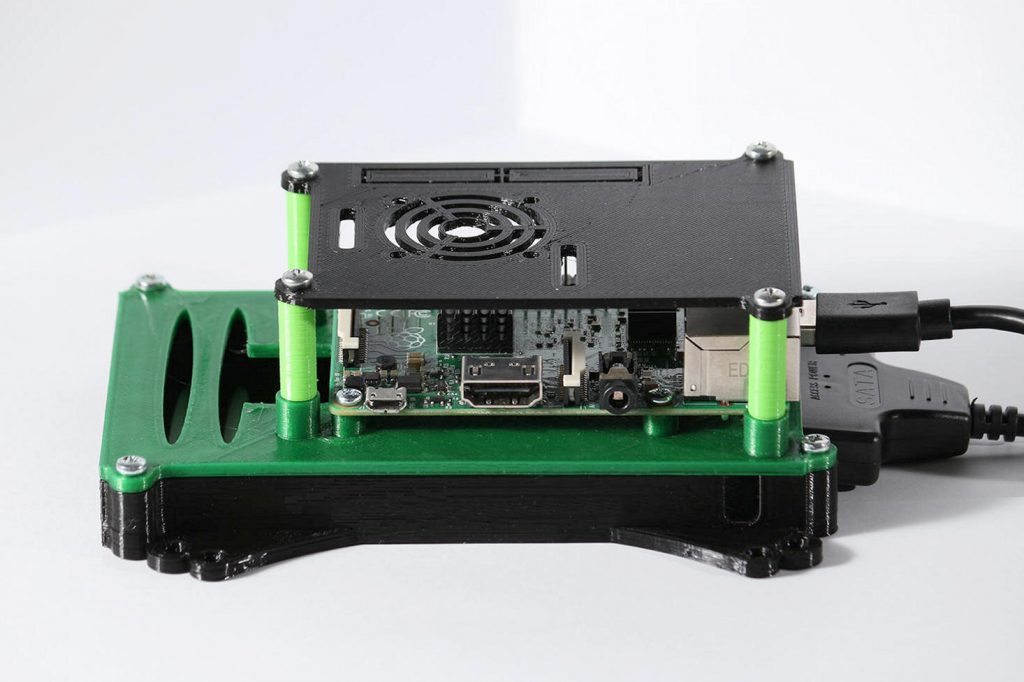
The assembly
After it has been printed the parts may need cleaning from PLA strings and probably spikes. Usually, it’s very minimal work.
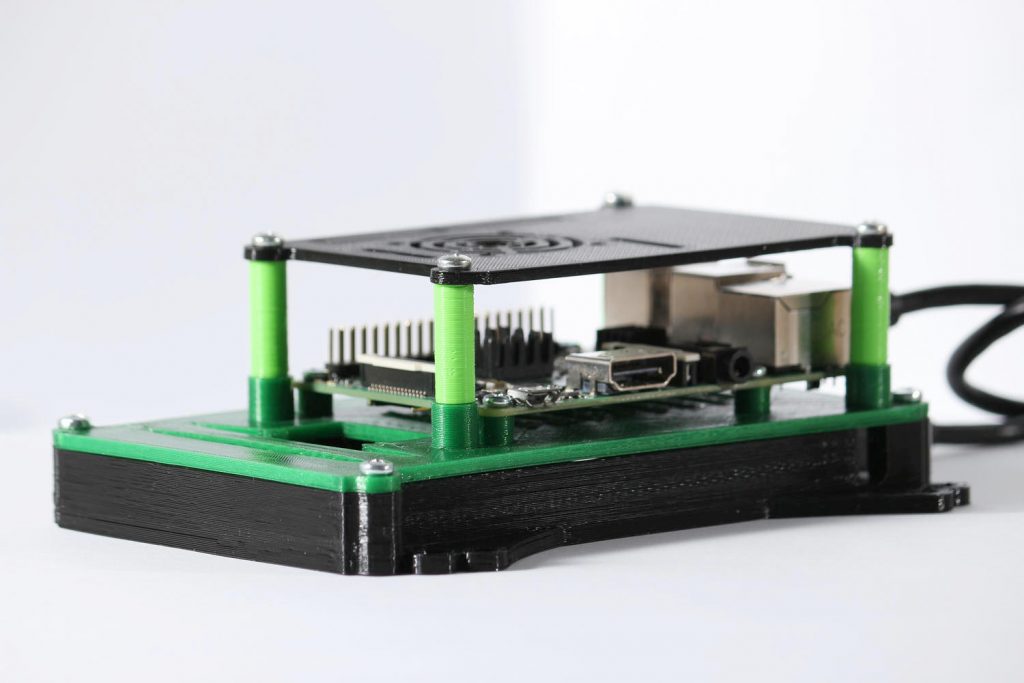
The Raspberry Pi PCB is fitted into the bottom part using four M2.5 x 6 screws.
The top part needs four M3 x 30 screws and four 20mm spacers.
The VESA mount needs four M4 x 10 screws.
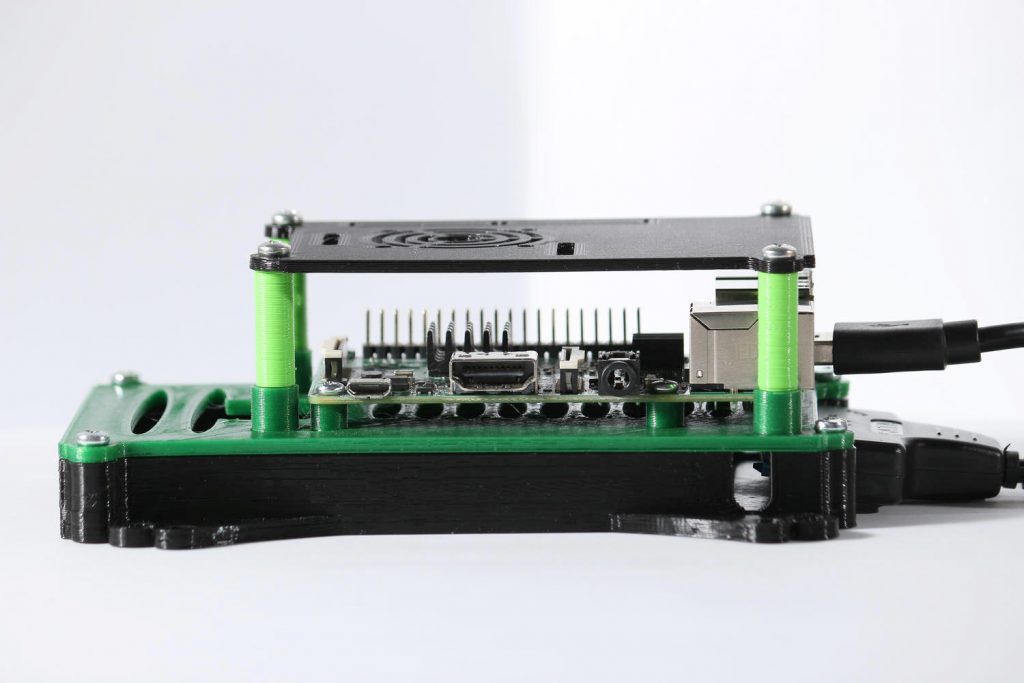
The design that you will get with STL files may be slightly different from the pictures shown.
I update the design files first and then it takes some time to print them and take pictures.
If you want, you can modify STL files to your needs using Tinkercad.

Download the design here
Download Our Computer User And Troubleshooting Guide

Leave a Reply
You must be logged in to post a comment.