Download the files here
Bill of materials:
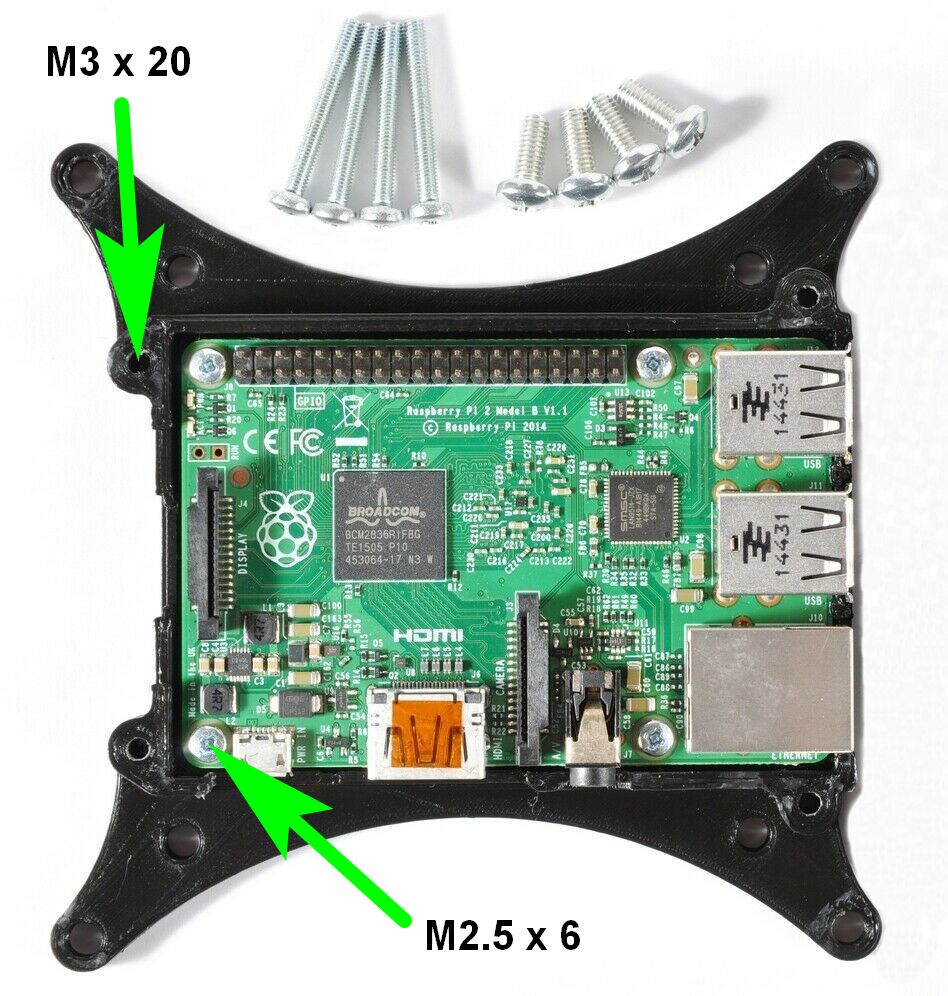
- Four M3 x 20 screws
- Four M2.5 x 6 screws
- Four M4 x 10 screws for VESA monitor mount
- 3D printer
- 3D printer filament; PLA preferable
The 3D printing
The printing does not include any fancy settings. I have included the Slic3r_config_bundle.ini file in the design folder for Slic3r.
Sometimes you might need to scale the design very slightly to make the PCB fit. This is usually not necessary, but I am letting you know if it does not fit.
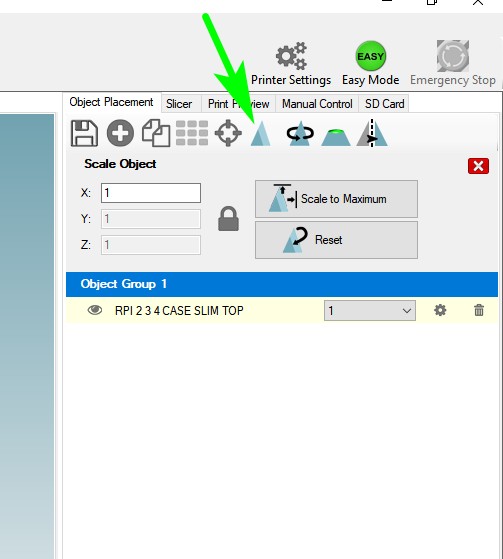
I recommend using Repetier which has Slic3r bundled.

If it strings badly you can put the PLA reels into the oven and dry them at a minimal temperature at 100 degrees Celsius or less for about 30 minutes. Better is less than 100 degrees Celsius as the reels may start to warp. Just make sure to cover their top and bottom with some protective sheets like aluminum foil to prevent warping.
The assembly
After it has been printed the parts may need cleaning from PLA strings and probably spikes. Usually, it’s very minimal work.
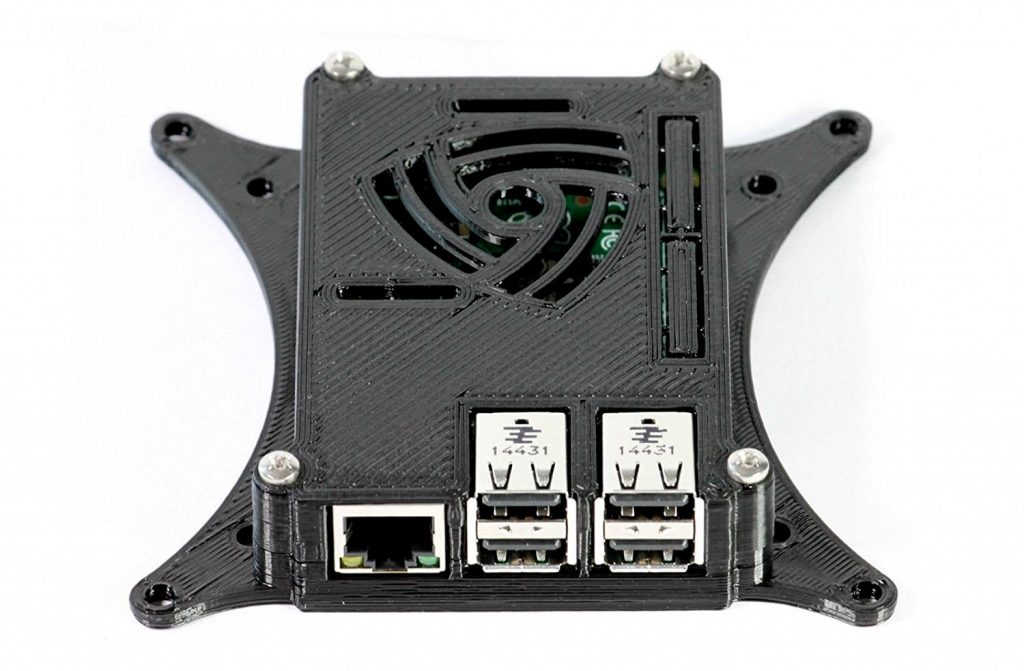
The Raspberry Pi PCB is fitted into the bottom part using four M2.5 x 6 screws.
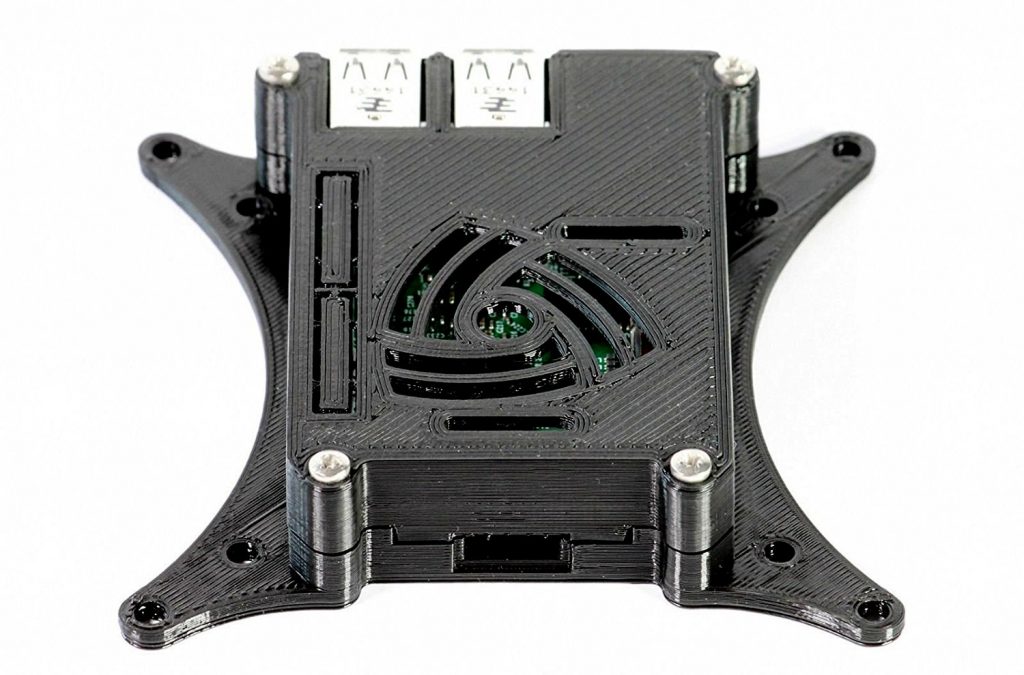
The top part needs four M3 x 20 screws.
The VESA mount needs four M4 x 10 screws.
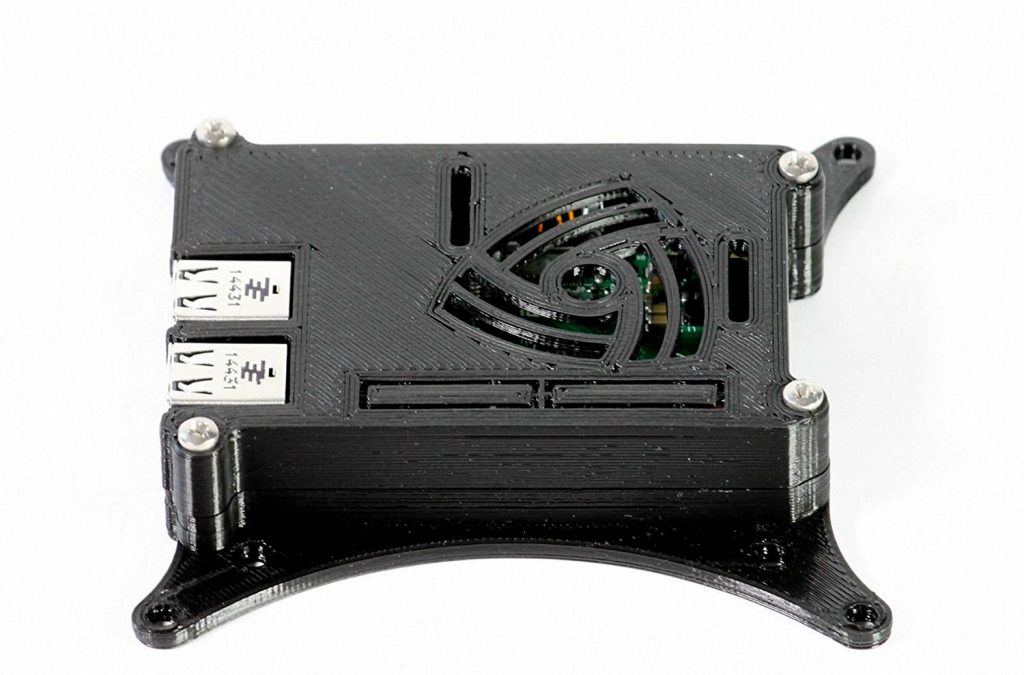
The design that you will get with STL files may be slightly different from the pictures shown.
I update the design files first and then it takes some time to print them and take pictures.
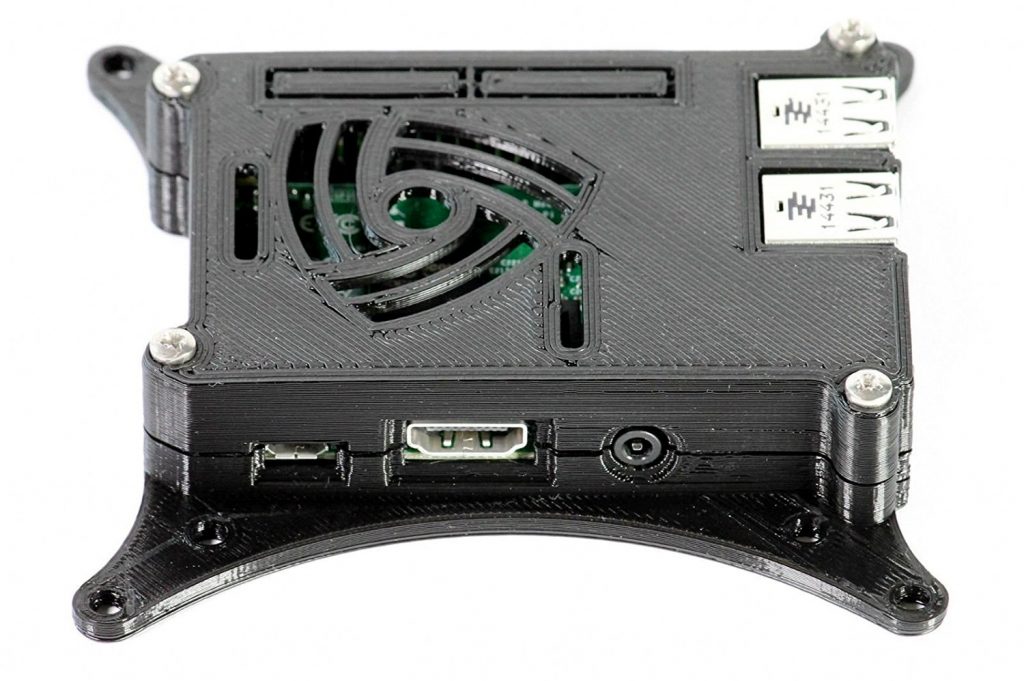
If you want, you can modify STL files to your needs using Tinkercad.
Download the files here
Download Our Computer User And Troubleshooting Guide