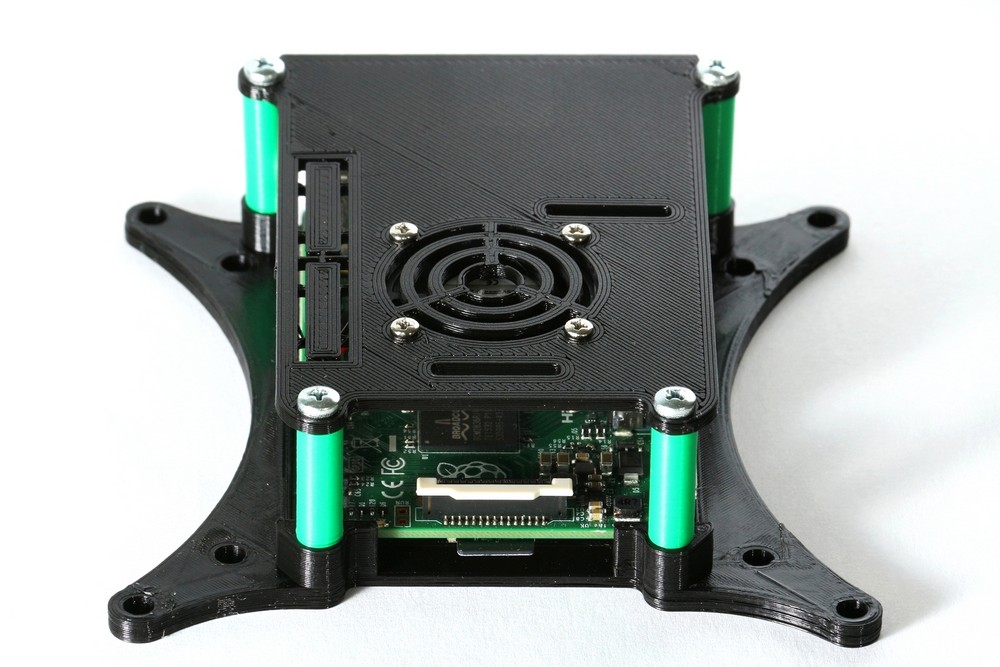
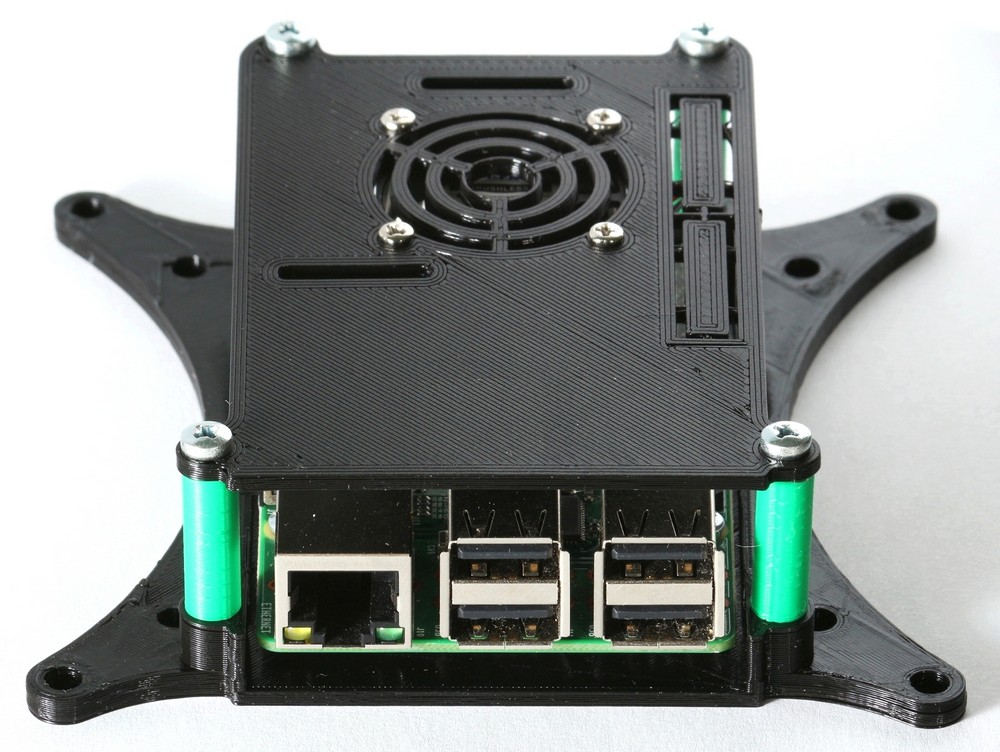
This is yet again the Raspberry Pi 2, 3 and 4 case that I have modified. I think the original design was by 0110-M-P that I have found on Thingiverse. I will not include here any links to designs as they may disappear and here will be a broken link. Please search with Google for 0110-M-P Raspberry Pi case stl.
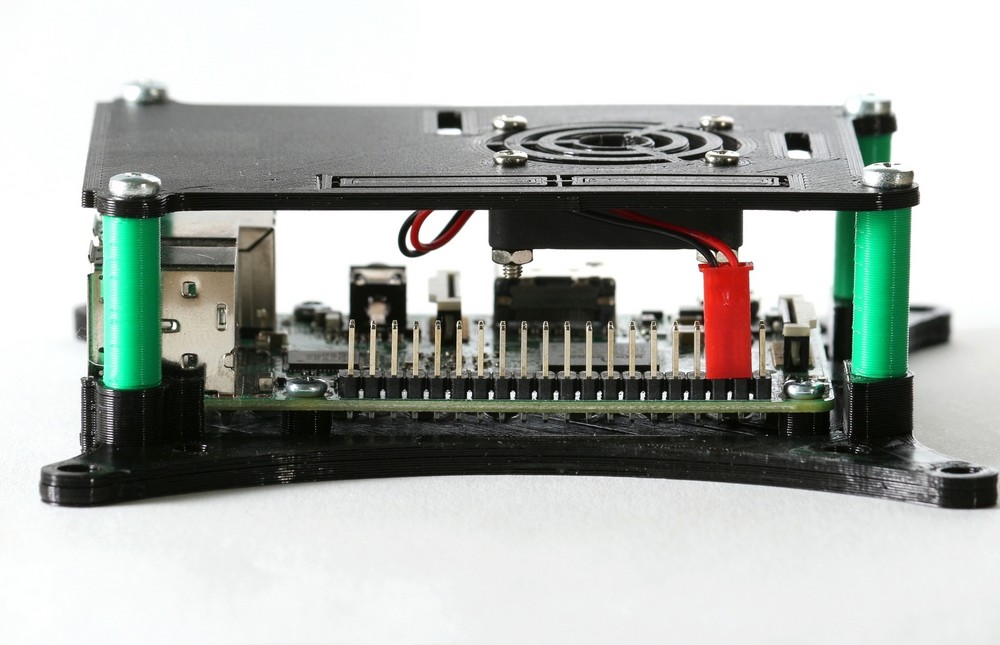
This design is basically a skin and bones compared to the original. The goal was to make a design that is universal and any normal Raspberry Pi will fit in. Also, this case can be made higher using M3 spacers instead of those decorative posts and M3 screws.
Please scale the design up by 1.008 in your slicer. I am not sure what happened, but my printers started to print smaller prints. Maybe it’s something to do with the Marlin firmware.

Anyway, you may or may not need to scale it. Just print the bottom part and try to fit the RPi in. If it fits easily and the M2.5 screws go in easily, you do not need to scale.
Bill Of Materials
You will need:
- Four M2.5X6 screws for the Raspberry Pi PCB.
- Four M3X35 screws for the case (you can use M3 spacers instead).
- You also may need two taps one 2.5 mm and the other 3 mm to make threads for those screws mentioned above (this is optional).
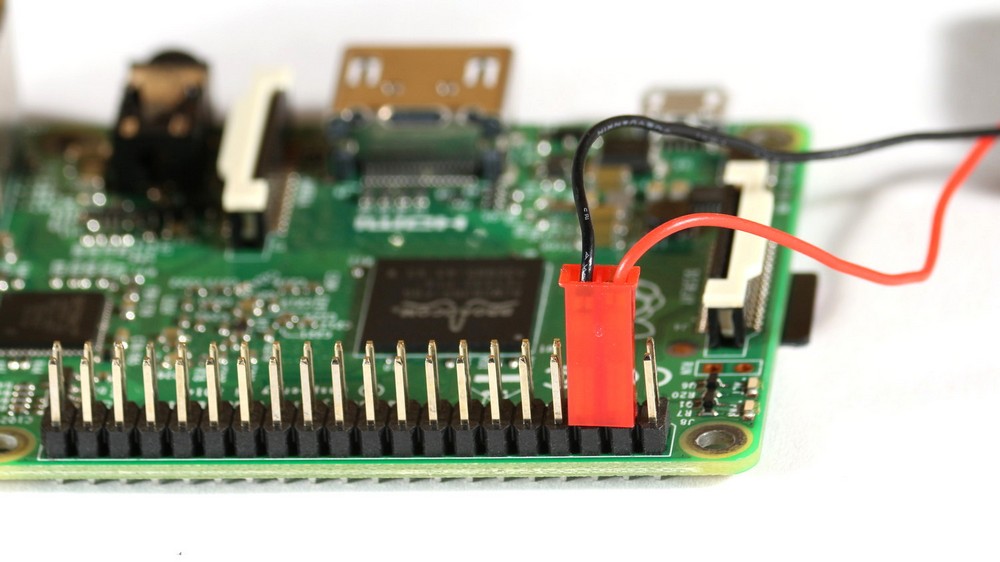
- RPi 30mm or 40mm fan; the fan usually has its own screws that will fit perfectly. The 30mm fan goes on the top horizontally and the 40mm fan is for the sides; it fits vertically.
- PLA 1.75mm filament preferably; before slicing please scale it up to 1.008 (the scaling is optional).
- A 3D printer.
- You also will need 4 M4X10 screws for VESA (this is optional).
Here are STL files for download

Download Our Free Computer User And Troubleshooting Guide

Leave a Reply
You must be logged in to post a comment.