Water damage is very common amongst laptop users. Users often spill drinks while using their laptop on the bed and it can damage internal components or make the laptop unusable. Most of the times the water does not go beyond the keyboard but it is always better to take precautionary steps. Today we will show you how to repair water damage on your laptop.
Prerequisites:
- Screw Driver
- White Spirit or Hand Sanitizer
- A soft cloth
- Cotton buds
Doy you need help with computers. Please fill in the form below and we will do our best to help you
Above are some of the things you will need beforehand in order to repair water damage on your laptop. White spirit is recommended because it does not leave any moisture or residue after cleansing but if you don’t have any then you can use hand sanitizer as well.
Step 1:
The first thing to do is to remove your battery and the AC adapter cable from the laptop. Not a single volt of current should pass through its circuitry because you will risk frying the areas with water damage.
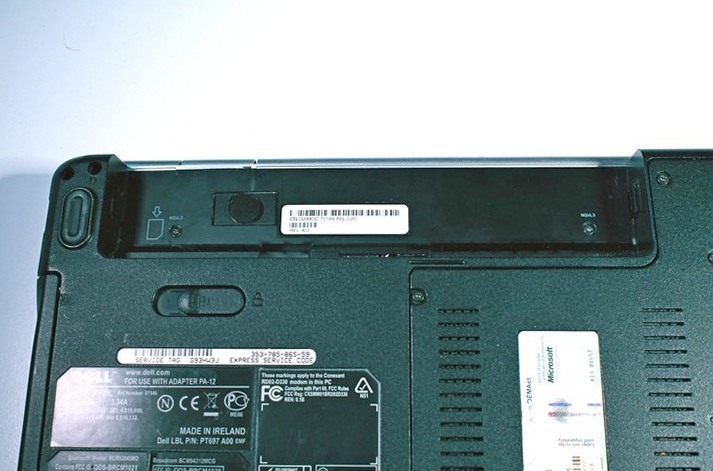
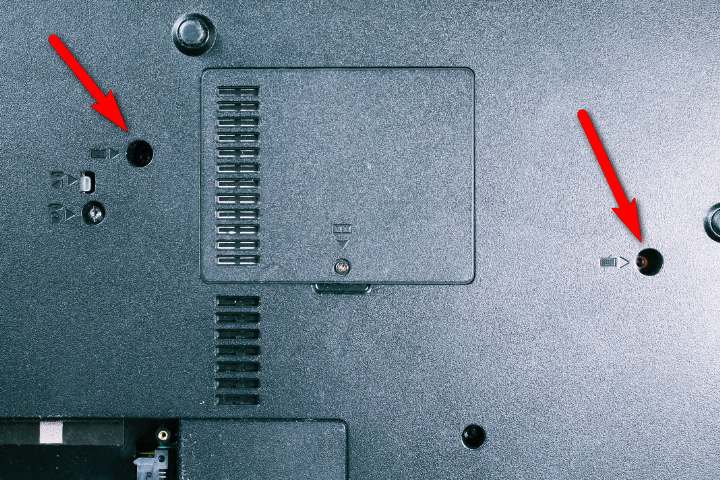
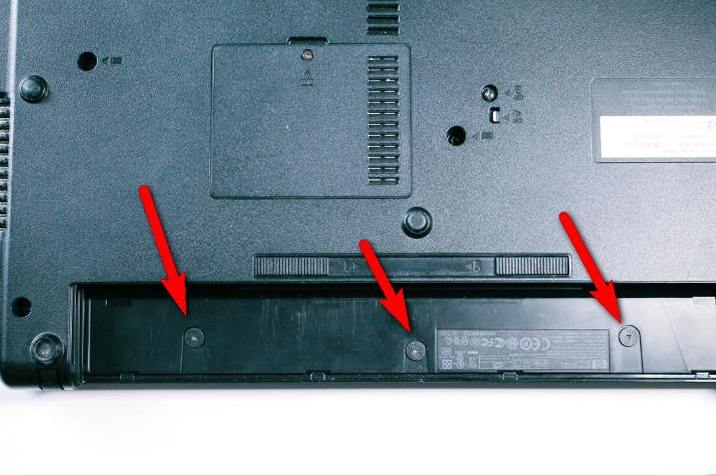
Secondly, use the screw driver to remove all the screws from the bottom of the laptop. Do keep in mind that some laptops do have screws under the battery so make sure you remove them as well.
Step 2:
The second step is to dismantle the entire laptop. Some people suggest that only remove parts with water damage but it is recommended to remove the motherboard and CPU as well since you never know where the water damage is done.

Step 3:
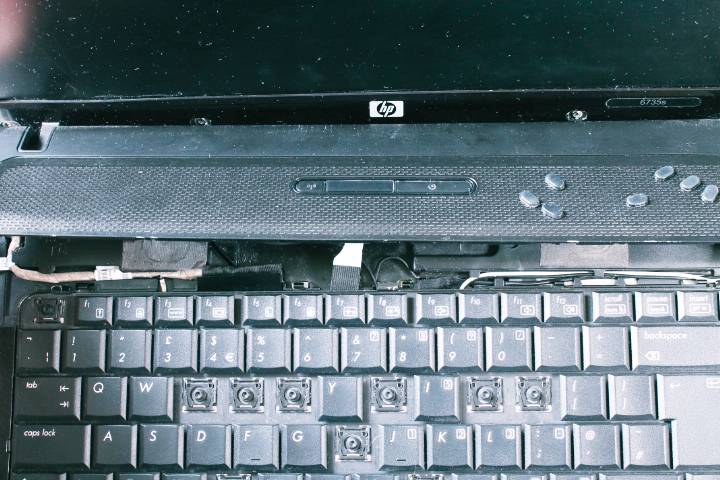
First of all remove the keyboard and you will definitely find water damage underneath it. It’s the first thing that gets in contact with the spilled drink or water. Carefully remove the keyboard connecting cable and put it aside.

Below are some of the glimpses of water marks at the back of the keyboard.
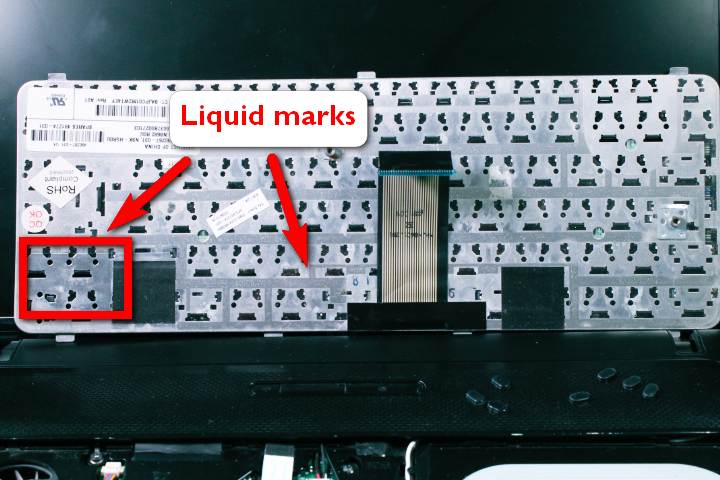
Once you find the water damage on the keyboard, it often indicates where the water could have gone. For example, if the water damage on the bottom right corner then the damage can be spread to the hard drive or wireless card (depending on the laptop model).
It is recommended to change the keyboard even though it might seem to work fine. Keyboards with water damage are risky to use because water can be stuck inside them and it is difficult to drain it so upon using it can damage other components.
Step 4:
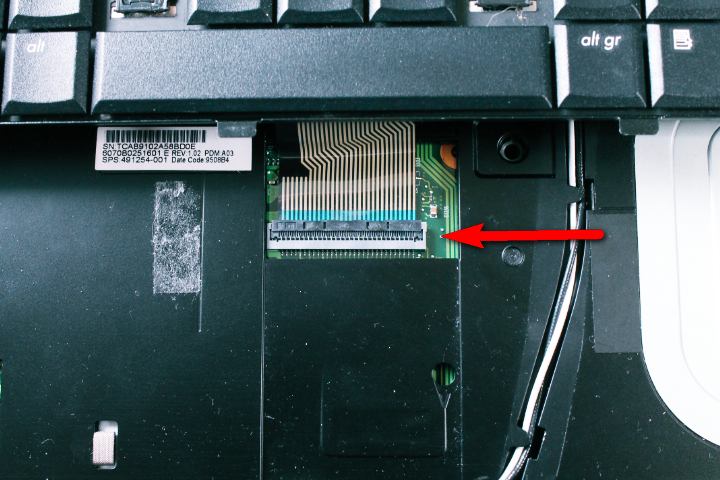
Once you have removed the keyboard and detected water spills on other areas, it is time to remove the motherboard.
The picture above shows exposed areas underneath the keyboard which may have water damage so check them thoroughly while inspecting the motherboard.
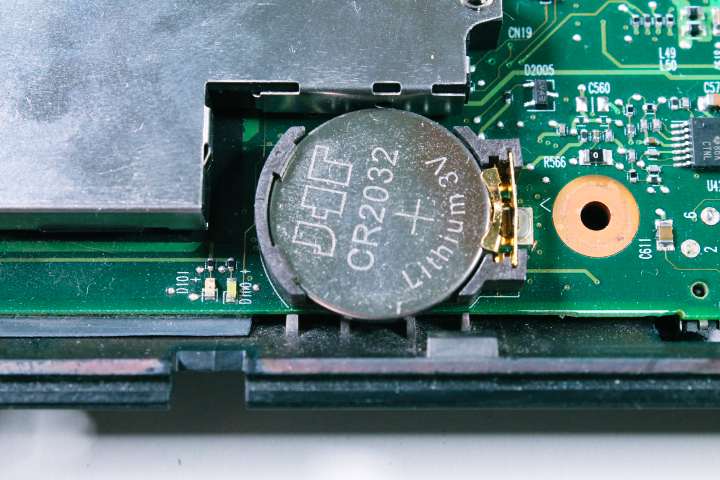
Once you have dismantled the laptop and taken out the motherboard, remove the BIOS battery first before proceeding with repairing water damage. Although in some cases, cleaning the motherboard is not required but it is recommended to inspect it thoroughly.
Step 5:
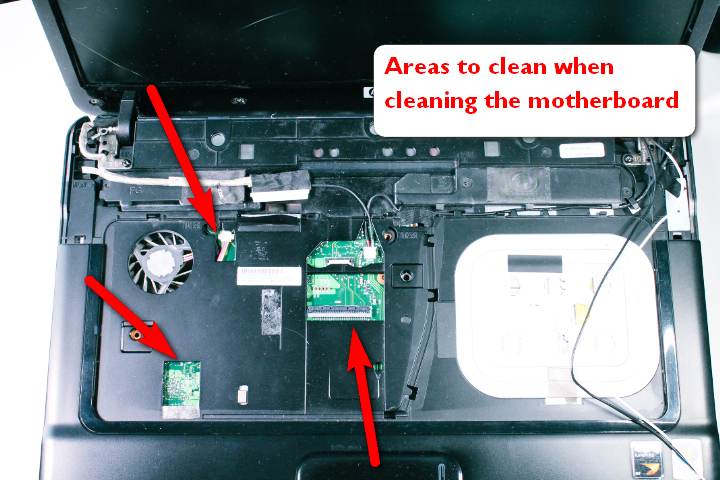
If you see signs of water damage on the motherboard then it’s time to get working on repairing it. First of all, take a few cotton buds and some white spirit in a glass. Dip the cotton bud in the glass and gently clean the moisture from motherboard as shown below.
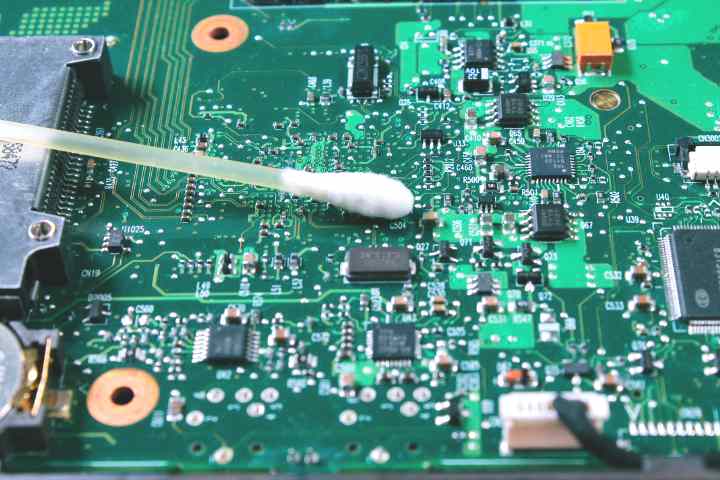
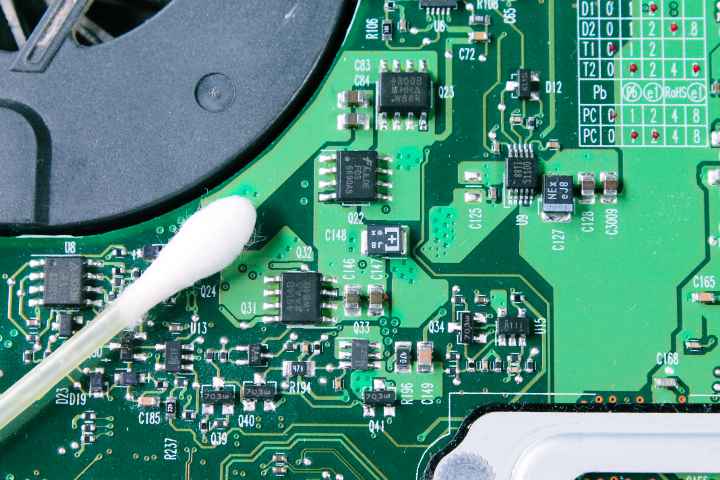
Tilt the motherboard upside down and thoroughly check for moisture or white spots which are indicators of water damage. Do not put too much white spirit because it needs to evaporate completely.
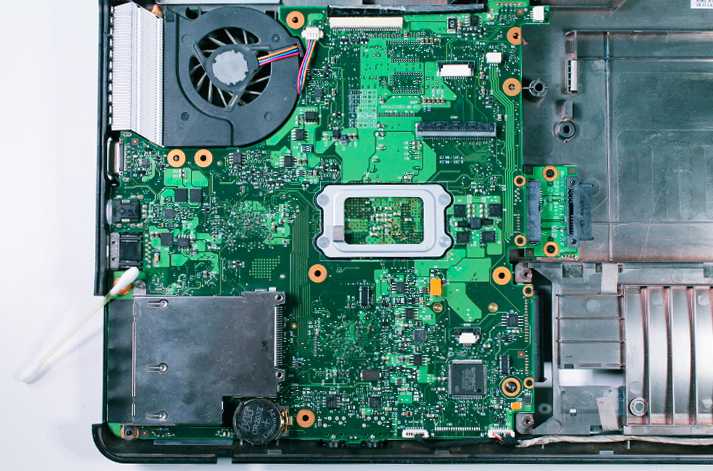
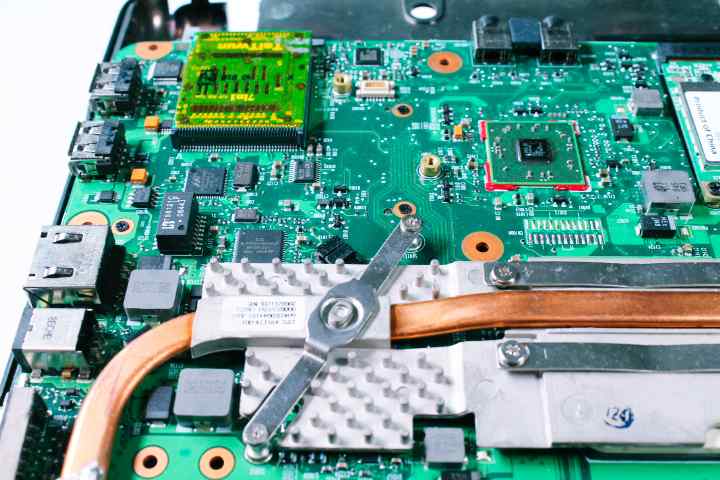
Remove the CPU heatsink and clean the components underneath it. Once the heatsink is removed you might need to replace the thermal compound as well so make sure you keep it with you. Once you are satisfied with your repair work, let it dry completely before turning it on.

It is a good precautionary step to replace the BIOS battery as well but it depends on the user preference. Lastly, when you are putting everything together make sure that heatsink fan is working properly. You can use compressed air on its wings to check and to dry your motherboard.
Download Computer Troubleshooting Guide

Leave a Reply
You must be logged in to post a comment.